
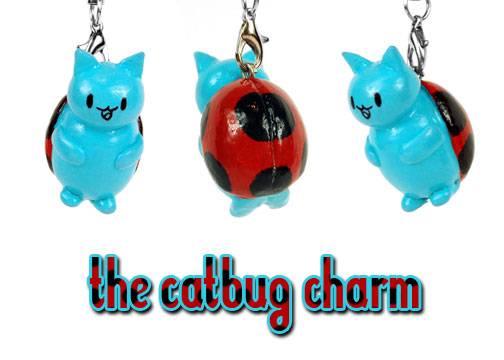
Something different today! My wonderful boyfriend and photographer, Matt, is doing today’s tutorial ^-^ I was just a tad backed up so he swooped in to help out and share what he knows with you guys! He’s a 3D artist but also loves working in clay, so he thought a really fun project would be to show you all how to make this simple Catbug charm! If any of you haven’t seen the Bravest Warriors cartoon yet, I highly recommend it >w< Catbug is about the cutest little guy on the show. So if you think you can make some simple clay geometric shapes and have some polymer clay on hand you can give this guy a go!
Difficulty:
![]()
Catbug is mostly simple geometric shapes, but his extremities are a little tiny and will be easier for those that are a bit dexterous.
Makes 1 charm that is about 3/4” wide, 1” tall, and 3/4” deep
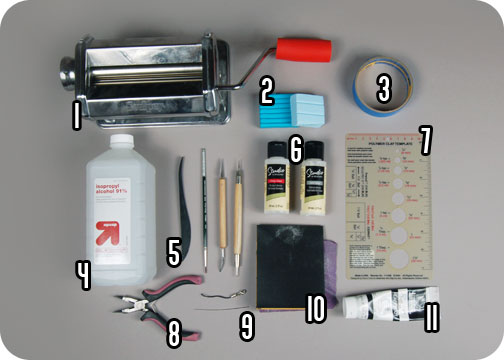
Materials & Tools:
Keep in mind that a lot of these are optional 😀 So don’t feel too daunted by the list!
1. OPTIONAL – Pasta roller: for mixing and conditioning your clay. You can also just use your hands to mix and condition; work dem muscles!
2. Clay: we used polymer clay; a combination of Fimo & Sculpey to get the right Catbug color
3. OPTIONAL – Painter’s tape: for covering Catbug’s body while you paint his shell. You can skip the tape if you’re a veerrry careful painter
4. OPTIONAL – Rubbing alcohol: for smoothing out your sculpture. Alcohol gets rid of all the fingerprints that are hard not to leave on your sculpt
5. Clay tools, paintbrush: You’ll need the paintbrush later for painting, while the clay tools are nice for precision sculpting. You can also use items around the house like chopsticks, manicuring tools, and the like to replace specific sculpting tools
6. Glaze: For coating your finished Catbug with a beautiful sheen
7. OPTIONAL – Clay measurement guide: this handy (and cheap) little ruler is great for measuring the size of objects you make in clay. A ruler would also do just as well
8. OPTIONAL – Jewelry pliers: for bending the hook so it fits your charm clasp. This is only necessary if you plan to add a lanyard to your charm
9. OPTIONAL – Charm findings: if you plan to make your charm into a keychain or something similar, you’ll need a head pin and a lanyard with a lobster clasp
10. OPTIONAL – Sandpaper: for smoothing out your baked Catbug. The purple you see in the image is about 320 grit (for removing major imperfections or rounding out the shell), and the black is 600 grit (for removing fingerprints and polishing paint layers). You can skip this unless you’re very particular of your finished product 😀
11. Paint: plain red acrylic is what you’ll need to paint Catbug’s shell.
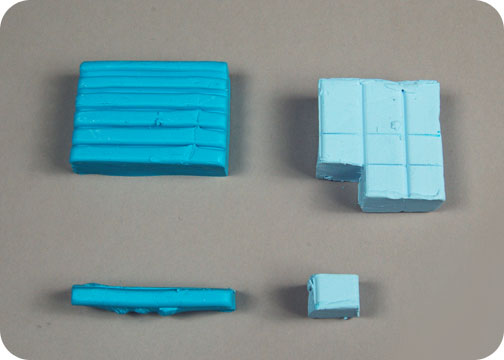
1. We wanted a very specific light turquoise to make a Catbug color, so to do that we mixed this turquoise Sculpey with light blue Fimo. One ridge of turquoise plus one small square of light blue.
2. Now you’ll want to mix the two together by smushing them up real good. If you’re doing this by hand, try to have a bowl of alcohol sitting by to clean your fingers. I try to rinse my hands ever minute or so when working with lighter colored sculpey, as lint/dirt from your hands can become embedded in the clay. You can also run them through your clay roller as in the next photo:
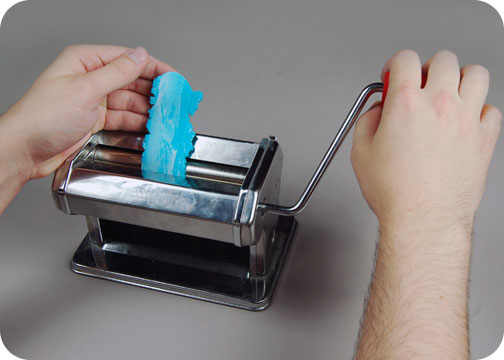
3. Go ahead and roll it out at your thickest setting, as we’ll just be smushing it up into a ball anyway when we finish. When process it through your clay conditioner several times it’ll slowly but surely mix the colors perfectly.
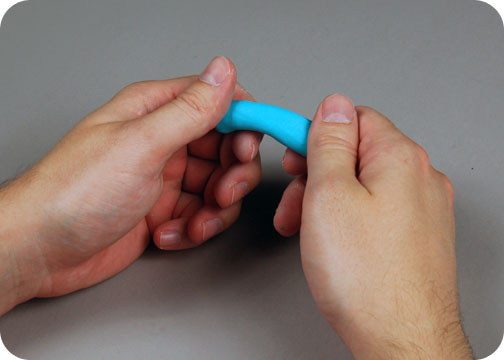
4. With your color down, next we portion out the clay so we get the right amounts for each body part. Roll the clay into a log.

5. Roll it until it’s about 2 1/4” long and…
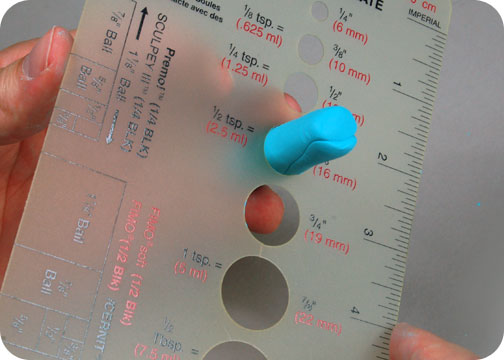
6. 3/4” in diameter. And that should get you just the right amount of clay to make a perfectly sized catbug!
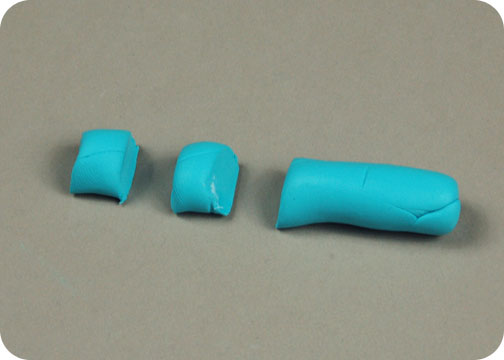
7. Work out the right proportions by marking the clay into thirds. 2/3 of your log will be for Catbug’s body; cut the last 1/3 in half. One half of that will be Catbug’s head, and the last piece will make up his arms, legs, ears, and shell.

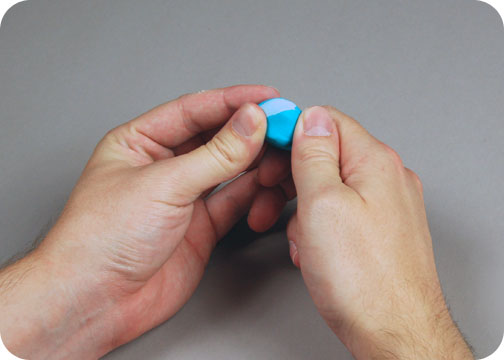
8. Roll the body section into a ball, then squish it a bit from the sides, since Catbug isn’t *exactly* round.
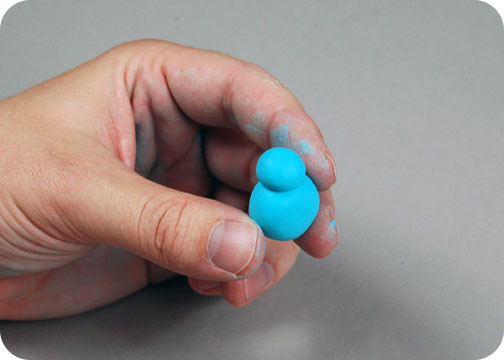
9. Roll the head portion into another ball, then squish it just a bit along the top and bottom to make an oval. Stick that on top of the body.
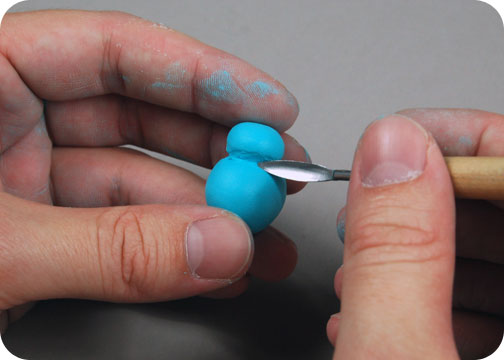
10. Use a sculpting tool to smooth out the join between the two pieces.
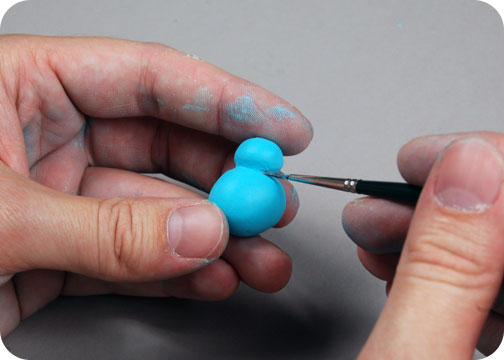
11. To make the join perfectly smooth, brush on some alcohol along the seam.
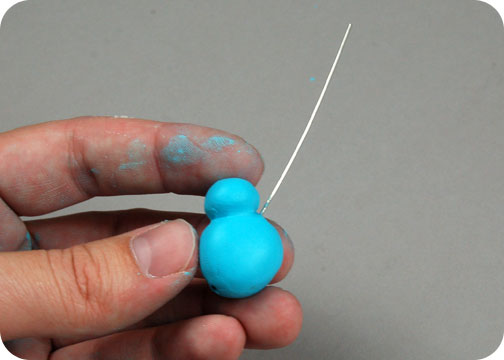
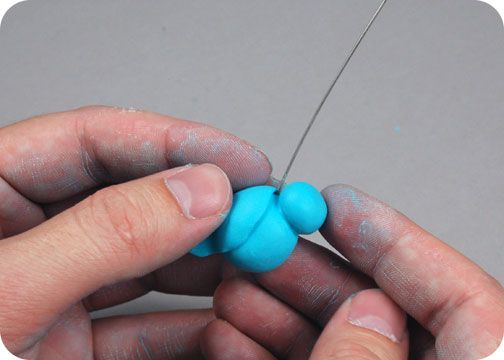
12. If you’re making yours into a keychain, take your head pin and stick it up through Catbug’s body, so the tip comes out just behind his head.
13. Using about half of the leg/arm/ear block, flatten out a disc big enough to cover Catbug’s back. Lay it on top of his back and smooth out the disc. If you have very clean hands you can do this with red clay and skip the painting step >w< But if you’re worried you’ll get flecks of blue in your red and vice-versa, this is a good alternative.

14. Use a sculpting tool again to smooth out the seam.
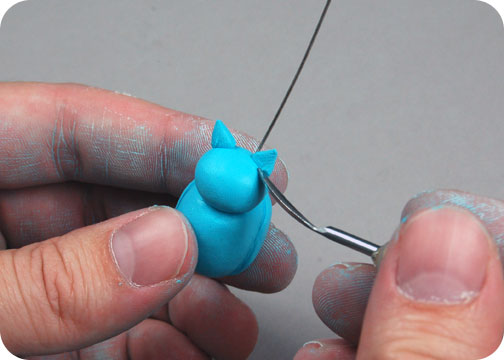
15. From the arm/leg/tail chunk, break off about 1/3 of the block to make two ears. Shape them into triangles and position them on the top of Catbug’s head. Smooth out the edges once again.

16. Split up the last of the arm/leg block into four sections, then roll those into thin tubes. Squish them on the sides and bottom of Catbug to form his arms and legs.
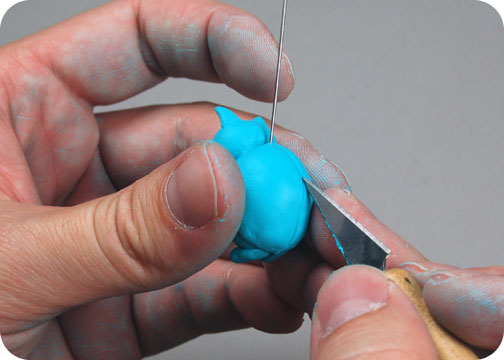
17. Use a sharper tool to score a line down the middle of Catbug’s shell.
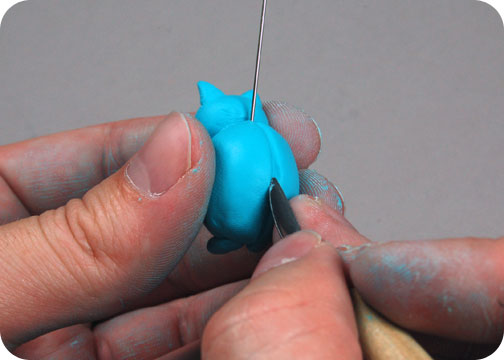
18. And use a smoother tool to make the line more like a trench to really define that separation.
19. To get rid of all your finger prints, paint the whole thing with a wash of rubbing alcohol. Be sure to try and handle your Catbug with the head pin to avoid more marks.
Now he’s ready to bake! For the best results we’ve seen with polymer clay, bake your Catbug like this:
1. Place him on a small cookie sheet covered with aluminum foil.
2. Put him into the oven while it’s COLD.
3. Preheat the oven to 200 degrees F; set a timer for 20 min.
4. Eat a sandwich. This part is vital to the process. I personally recommend a Philly Cheesesteak, or a Publix Fried Chicken sub.
5. When the timer goes off; raise the temperature to 275 degrees F; set a timer for 10 min
6. When the timer goes off; turn off the oven. Open the door a crack and let the piece cool for about 10 min.
7. Remove from the oven, and allow it to cool for another 10-15 minutes at room temperature.

20. If you still find any minor imperfections with your baked Catbug, those can be taken care of with some sandpaper. I like to sand anywhere a seam exists, and anywhere I need a nice, clean line (like the edge of the shell).
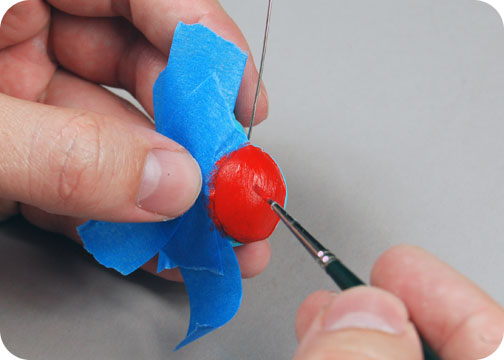
21. Using bits of painter’s tape, cover up Catbug’s body so you can freely paint his shell red with the red acrylic paint. I don’t like seeing paint strokes on my clay, so I tend to thin the acrylic with a little water or alcohol. If they’re still too noticeable you can sand the paint back gently using the 600 grit sandpaper.
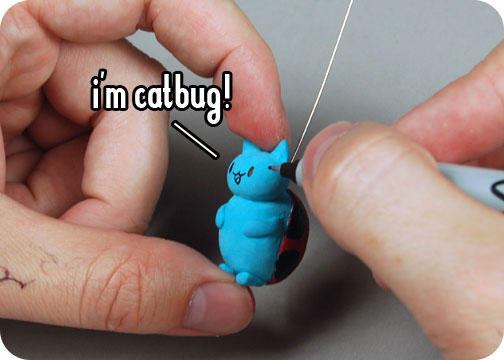
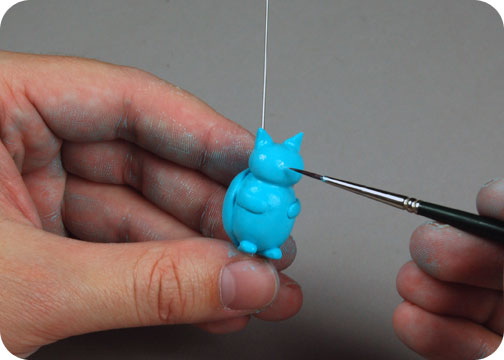
22. When the paint is good and dry, you can then draw on his face with a fine tip Sharpie, and his spots with a regular tip Sharpie.
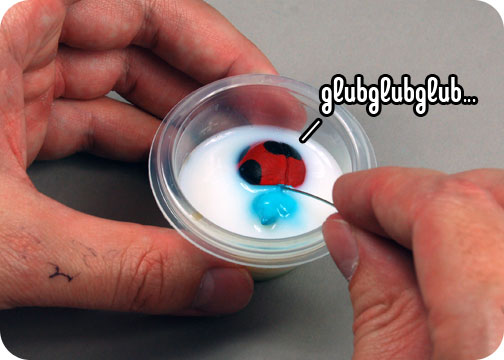
23. For an extra professional finish, paint (or dunk) your finished Catbug in glaze. You’ll want to hang him up to dry if he has a head pin attached, or set him on a piece of parchment paper if your Catbug stands alone. Be sure to brush any excess glaze away from his feet.

24. To finish the keychain part of your Catbug, trim the head pin down to about 1/2” – 3/4”
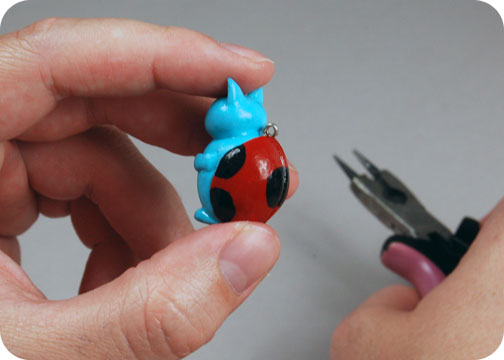
25. Using your jewelry pliers, twist that portion of the wire to make a loop, and attach your lanyard from there! The loop should curl over on itself at least once, to help ensure it won’t come unraveled during use. Now go show people how awesome your Catbug is, because YOU’RE DONE!
So what do you think? Did you enjoy your first venture into non-sewing territory? >w<
I hope you enjoy the tutorial, but if you'd rather just buy the one from the pictures, you can find it on my boyfriend’s Etsy.
If you do try making the project, I’d love to see it! And I’ll send you exclusive free patterns as a reward!
For questions and terms of use information, please see the FAQ.