

This one is so simple, but just making it just made me so happy 😀 For one, it used up a lot of scraps that I had been keeping around for far too long. This seafoam green faux suede in particular – I bought it to test out making some gloves way back in high school! I bought way too much so I’ve been using up the scraps ever since. And now it’s finally gone! The other thing I love is the little hidden pocket feature on the front of the tote – the entire center panel of printed fabric you see is actually one large pocket that’s accessed from a clean little opening on the side. It’s made using a very simple method, but I just love how sharp it looks so it always makes me smile.
And lastly as I was using up my scraps to put the bag together, I realized the dimensions of the bag would end up being a little wide but short – that’s when I realized they were the perfect dimensions for a laptop! So while of course you can use the tote as a regular bag to carry library books or maybe some knitting, I decided to go gung ho and make mine a laptop bag with padding so the front pocket can be used for pens, flash cards, or your phone ^-^

Difficulty:
![]()
This tote is super simple and uses all straight lines, though the pocket portion might throw you a bit if you’re a newbie.
Makes one tote that is 16” wide and 10½” tall
Materials & Tools:
• ½ yd. of medium to heavyweight fabric for main tote (canvas or denim would be perfect – I used interfaced faux suede)
• ⅛ yd. of non-directional or ½ yd. of directional medium to heavyweight fabric for contrast strips (canvas or denim would be perfect – I used interfaced linen)
• ¼ yd. of non-directional or ½ yd. of directional medium to heavyweight fabric for center contrast panel (canvas or denim would be perfect – I used twill)
• ⅔ yd. of lightweight fabric for lining (I used quilting cotton)
• ½ yd of fusible fleece interfacing (optional)
• Matching sewing thread
• Basic sewing tools (sewing machine, scissors, iron, needles, pins, fabric marker, seam ripper)
Before you begin:
1. Print out the project pattern here
2. Assemble the pattern pieces, see the page here for more help
3. Lay out the pattern pieces on your fabric and cut them out
4. Mark the fabric pieces with the markings from the pattern
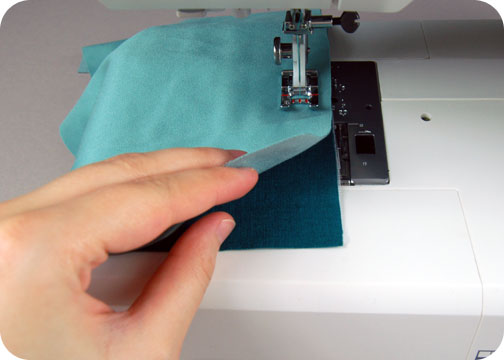
1. Once we get past the pocket part it’s all gravy from there 😀 So the first step to creating the pocket is to take one of your side panels from your contrast fabric and one of your center panels from your lining fabric, then match up the edges with the single notches. Sew the two pieces together along this edge, then press the seam open.
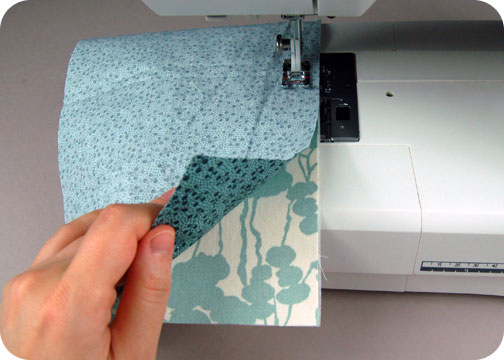
2. Next we’re essentially doing the same thing but with your center panel main fabric and the remaining center panel lining piece. Once again, match up the single notches and sew down that one edge. Press the seam open when you finish.
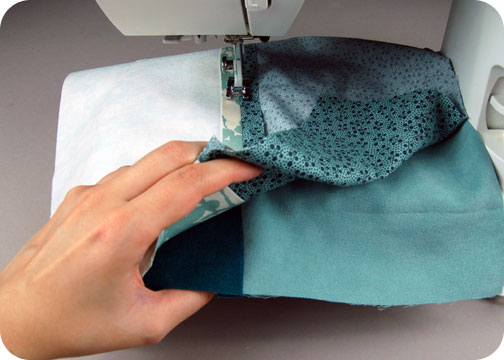
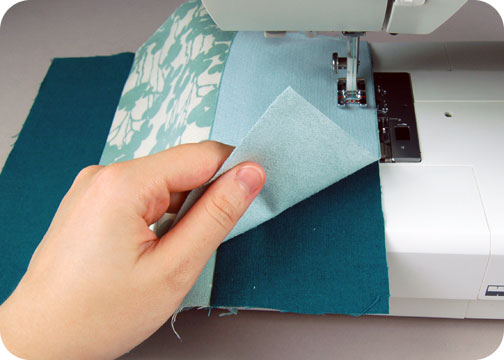
3. When both pieces are finished, lie them on top of each other with right sides facing. The lining pieces should match up with each other, and the outer fabric pieces should also match up. Line up the seams from steps 1 & 2 as close as you can – we’ll be sewing the layers together here. Before you sew them together, this is where you want to take note of the circle markings from the pattern guidelines. Sew to the first circle, skip over the area in the middle, then begin sewing again at the next circle until the end. This will leave a gap in the middle of your seam where the opening of your pocket is.
When you finish, press all the fabric away from your side strip piece, and you’ll be left with three layers on one side that forms your pocket!
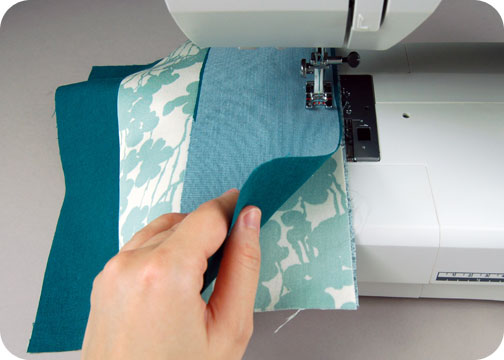
4. Now we can start assembling the bag as if the pocket in the middle wasn’t there. Start by lining up your other contrast side piece on the other side of your center panel. The double notches should match up this time (disregard the single notches). Iron the fabric away from the center panel when you finish.
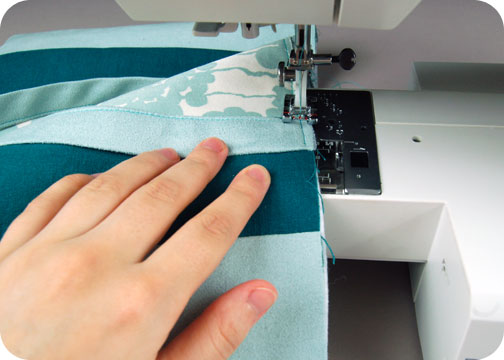
5. All that’s left to complete the front of your bag is to sew the main side panels to each side of your working piece now. Match up the long edges and sew the panel from your main fabric in place. Repeat this with the other side of your center section as well and that completes the front of your bag!
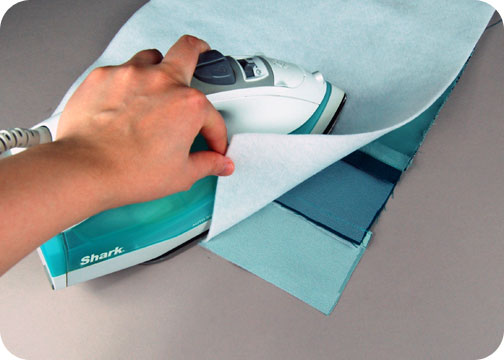
6. This is completely optional, but since I made mine into a laptop bag I fused some fleece padding to the wrong side of my bag front and back. This will make your front pocket look extra crisp and neat, so I would recommend it for that reason as well.
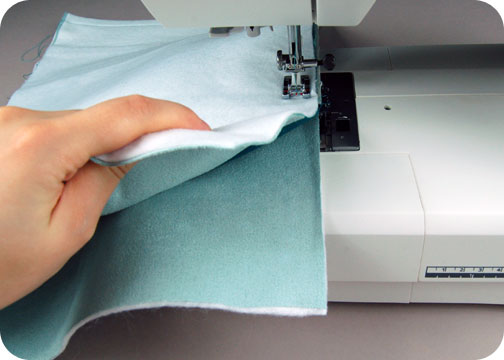
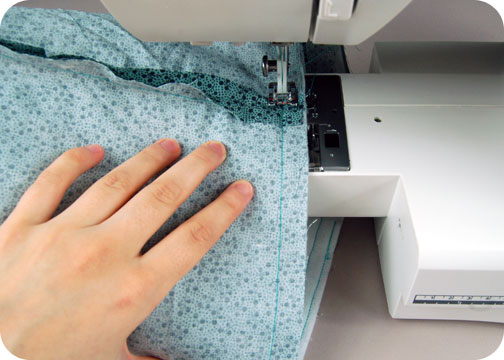
7. With the front and back of your tote complete, you can now sew them together. Simply line them up and match the raw edges, then sew the bag together along the sides and bottom. Leave the top free to turn it right side out.
Now you’ll want to trim your seam allowances, turn the bag right side out, and press it flat.
At this time you’ll want to go back and repeat this step 7 with your corresponding lining pieces, but be sure to leave an opening in the bottom for turning the bag right side out later.
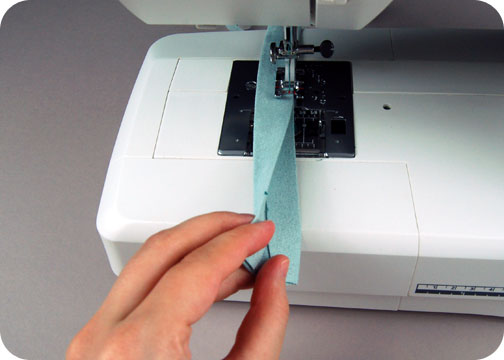
8. Next is the straps. Simply fold under ⅝” of each long edge of your strap pieces, then fold the whole strap in half with wrong sides together. Edge stitch down the folded edge and you have a crisp and neat-looking strap!
9. Now you can baste your straps in place in preparation for the next step. Take one raw end of your strap and line up the raw edges with the top edge of your tote. The placement should be just outside of your center panel. Once you basted one end, you can baste the other end on the other side of the panel.
You’ll want to repeat this same thing with the back of your tote, so line up the front and back top edge and use your fabric marker to copy where the straps ended up on the front to the back of your tote. Then use those markings to baste the straps in place on the back.
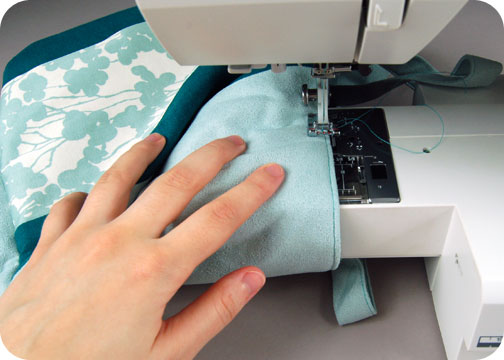
10. Now we can finally attach the lining! Nestle your main tote into your lining and match up the top edges. Be sure that the straps stay tucked inside the bag, then sew all the way around the top edge of the tote.
Now you’ll want to turn the bag right side out from the opening in your lining. Tuck the lining back into your tote, then press the top seam nice and crisp. When finished, sew closed the opening that you used to turn your bag; a hand-sewn ladder stitch works or you can just use a straight machine stitch.
11. To keep the top edge looking crisp, you’ll want to edge stitch around the top edge of your tote. Be sure to push the straps away from your tote to keep them out of the way as you sew. Now tuck your laptop inside, because YOU’RE DONE!
Even though it’s super simple, I can totally see myself carrying my laptop in this 😀 It’s so easy and unfussy, but still looks nice. What do you think? Let me know in the comments!
I hope you enjoy making this project, but if you’d rather have the one from the photos, you can purchase it from my Etsy.
And if you do try making the project, I’d love to see it! And I’ll send you exclusive free patterns as a reward!
For questions and terms of use information, please see the FAQ.
7 thoughts on “Freebie Friday! The Hidden Pocket Tote”
Reblogged this on Lollipops and rainbows and commented:
Pretty.
This is just what I need for hauling books bace and forth to the library! Another way to use up odds and ends material…gloves??
Question, if the pattern pieces (measuring inside the seam allowances) are nearly 16 inches wide, how does that make an 18 inch wide bag?
Ah, you’re absolutely right! That must have been a typo. The bag is definitely 16″ wide! Thanks for catching that!
Also, I know I can remember to do it, but I don’t think you have a step for sewing up the lining after you turn the bag right side out.
Thanks so much! I added that one too 😀 You’re right that most people remember to do it, but there definitely needs to be a little something in there.
I made this
https://m.facebook.com/photo.php?fbid=716204215152767&id=100002895867457&set=rpd.100002895867457&source=49